Slay the Spire Boss Relic Tier List: Best Picks for A20 Runs
A practical Ascension-focused ranking of every boss relic, judged by consistency, downside management, class fit, and how often it actually saves a run.
This Slay the Spire boss relic tier list is built for A20 decisions, not tooltip excitement. Energy matters, but the best pick is the one that gets your current deck through Act 2, the Act 3 boss pair, and possibly the Heart without quietly deleting your outs.
This ranking covers every boss relic in Slay the Spire. It prioritizes consistency, downside management, class fit, pick timing, and how often a relic actually saves a run. If a relic is powerful only when your deck is already winning, it is marked down.
How to read this A20 ranking
Every boss relic here is ranked by default A20 value. Class context can move a relic up or down.
A few assumptions matter:
- Act 2 is the first real boss relic test. A pick that pays off later but loses to early Act 2 hallways is not reliable.
- Energy is strongest when the downside does not reduce your future draft quality.
- Non-energy relics need to create real deck control, scaling, or immediate transformation value.
- Potions are not luxury items on A20. They are route insurance.
- The boss chest question is not “which relic is strongest in theory?” It is “which relic fixes the next ten floors?”
Full A20 boss relic tier list
S tier: Coffee Dripper, Cursed Key, Runic Pyramid, Snecko Eye, Pandora's Box, Holy Water, Violet Lotus
A tier: Astrolabe, Fusion Hammer, Slaver's Collar, Empty Cage, Nuclear Battery, Mark of Pain, Hovering Kite
B tier: Calling Bell, Black Star, Philosopher's Stone, Runic Dome, Sacred Bark, Wrist Blade, Inserter, Velvet Choker
C tier: Ectoplasm, Sozu, Frozen Core, Black Blood, Ring of the Serpent, Tiny House
D tier: Busted Crown
S tier: Relics that can define winning A20 runs
Coffee Dripper

Coffee Dripper is one of the cleanest energy relics in Slay the Spire because its downside can often be managed before it matters. If the extra energy prevents 8 to 15 damage across the next few fights, it has already replaced a rest.
This is strongest when your potion plan, hallway damage, and key upgrades are under control. Ironclad likes it more with Burning Blood, Reaper, or strong block. Defect can cover it with Self Repair or Frost. Silent and Watcher can take it when they are already ending fights quickly.
The trap is taking Coffee Dripper while bleeding every floor. If your deck cannot block or kill cleanly, losing rest sites turns every bad draw into a permanent HP problem.
Cursed Key
Cursed Key is premium A20 energy because the curse downside is delayed and partially optional. You can skip chests. You can route toward shops. You can decide whether a chest relic is worth adding a curse.
That flexibility is why Cursed Key ranks so high in this energy relic tier list. It gives the energy immediately without weakening card rewards, blocking upgrades, or shutting off potions.
The limitation is discipline. Do not auto-open every chest because “it is just one curse.” Normality, Pain, Regret, and even basic dead draws can wreck a tight Act 3 deck. Cursed Key is S tier when you treat chests as decisions, not freebies.
Runic Pyramid
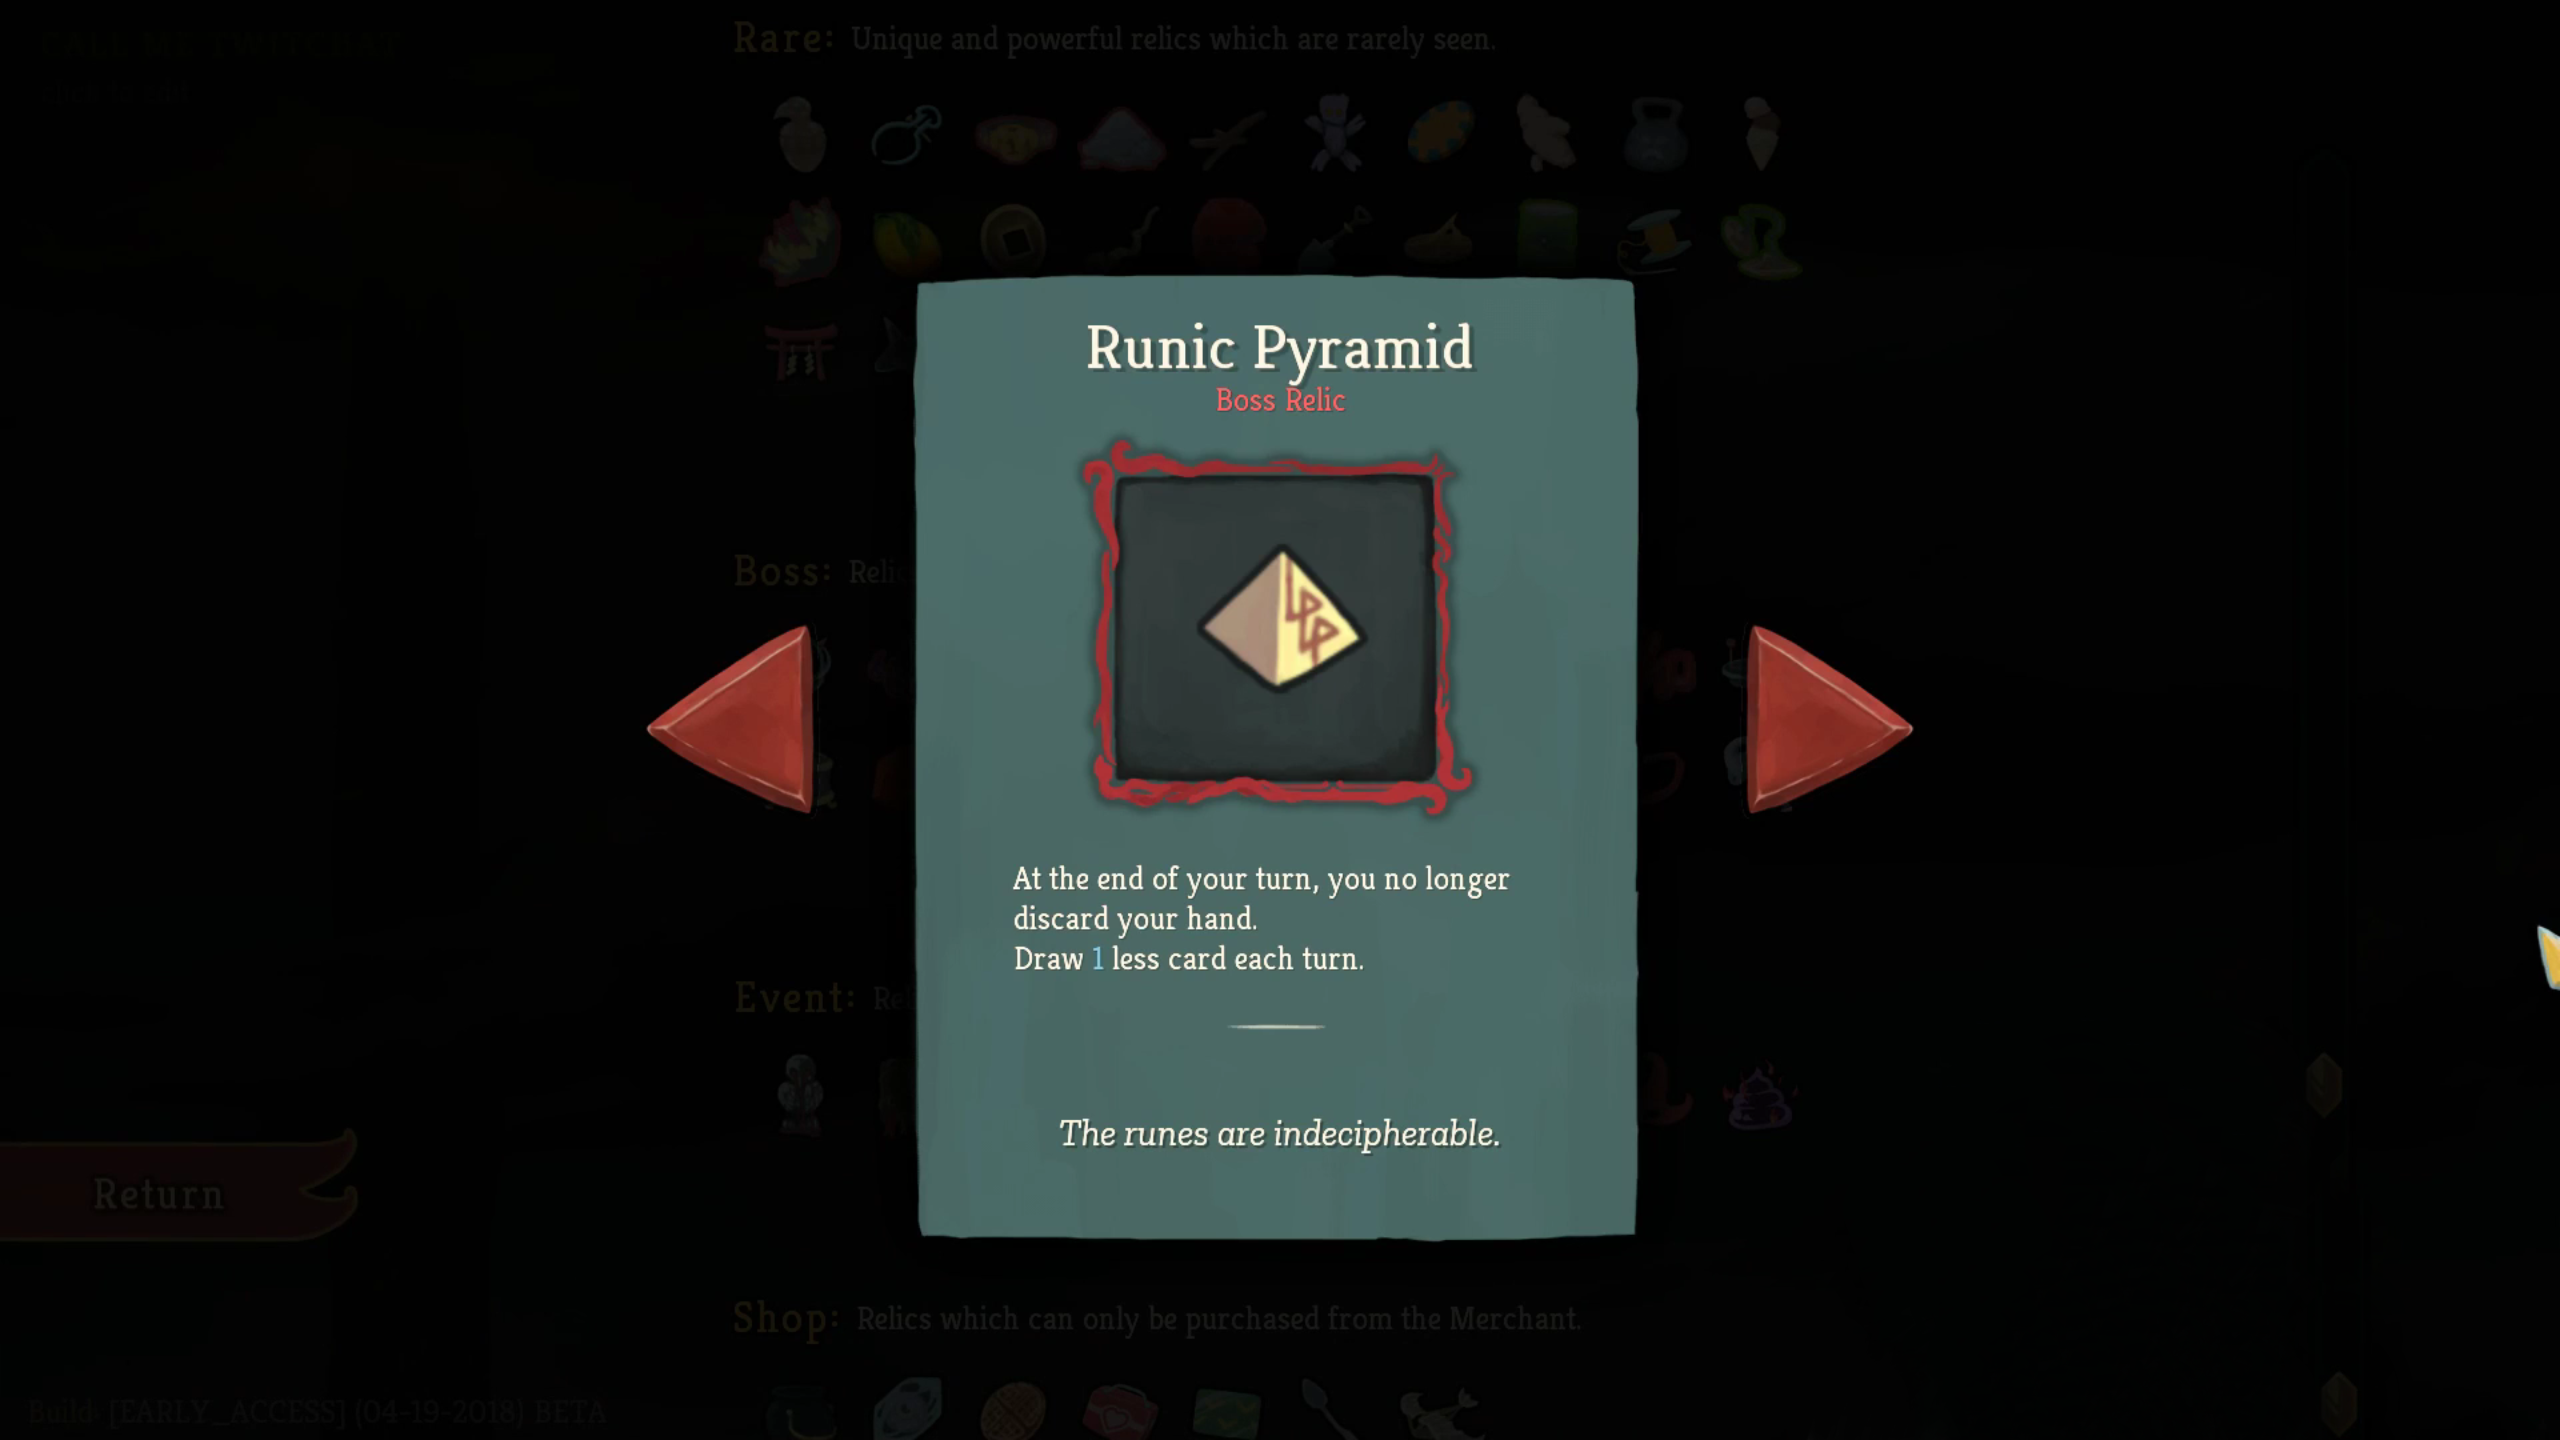
Runic Pyramid is not an energy relic, but it often creates stronger turns than energy does. Retaining your hand lets you hold Piercing Wail for the right enemy turn, save Catalyst for poison payoff, line up Wrath exits, keep scaling cards until they are safe, or wait to spend block when it actually matters.
The real appeal is deck control. A lot of A20 losses come from drawing the right card on the wrong turn. Runic Pyramid attacks that problem directly.
The main friction is hand clog. Status cards, curses, expensive skills, and low-impact attacks become much worse when they refuse to leave. Pyramid also wants energy, discard, exhaust, or very cheap cards. When those are missing, it can turn a playable deck into a traffic jam.
Snecko Eye
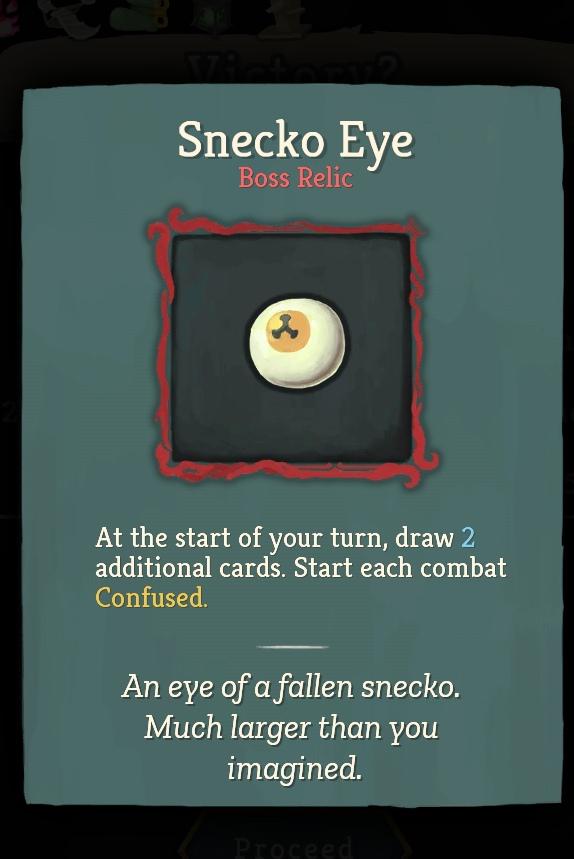
Snecko Eye is S tier only when your current deck can survive the first confused turns. The draw is enormous. Two extra cards every turn changes how quickly you find scaling, block, and payoff. Expensive cards become much more attractive, and clunky hands can become explosive.
It is best with real card quality already in the deck: Demon Form, Corruption, Wraith Form, Echo Form, Meteor Strike, Omniscience, Deva Form, or other high-impact cards that justify cost chaos.
Snecko Eye does not fix bad drafting. It converts bad drafting into louder bad drafting. If your deck is mostly low-cost filler, zero-cost attacks, and fragile sequencing, Confusion can remove the one thing your deck had going for it.
Pandora's Box
Pandora's Box wins runs by deleting the worst part of most decks: starter cards. Turning every Strike and Defend into real cards can create an instant Act 2 deck, especially when the alternatives are awkward energy relics with severe downsides.
This is especially valuable when your deck has enough potions or relic support to survive a weird first shuffle after the transformation. Watcher often loves it because starter cards are so much worse than her real tools. Ironclad and Defect can also gain huge value. Silent should check block density carefully before clicking.
The risk is shape. Pandora's Box can give you power, damage, and scaling while leaving you short on block. It can also produce a deck that is stronger overall but less predictable immediately. If the next few floors are dangerous, route like the deck is untested.
Holy Water
Holy Water is Watcher frontload in relic form. Three Miracles at the start of combat let you set up faster, burst harder in Wrath, play a safety card after committing, or bridge into a key power without giving up tempo.
It is S tier because it has no real downside and solves a real Watcher problem: getting the first decisive turn online before enemies punish you. It also makes early boss turns cleaner, which matters when A20 asks for back-to-back Act 3 bosses.
Holy Water is not scaling by itself. If your deck has no draw, no stance payoff, and no meaningful expensive cards, it only accelerates a mediocre plan. Usually, though, Watcher can convert three Miracles into a won fight.
Violet Lotus
Violet Lotus is one of the best Watcher boss relics because it turns Calm exits into a real energy engine. The more often you move through Calm, the more the relic stops being “extra energy” and starts becoming combo infrastructure.
This is absurd with stance cycling, Rushdown lines, Inner Peace, Fear No Evil, Tantrum, Empty Fist, Empty Mind, and similar cards. It also raises the ceiling on decks that want to play many cards in one turn without needing a generic energy relic.
The caveat is narrowness. Violet Lotus needs Calm access and cards that leave Calm. If your Watcher deck is built around Divinity, Pressure Points, or plain attack scaling with weak stance movement, it drops closer to A or B tier.
A tier: Strong picks with clearer conditions
Astrolabe
Astrolabe is controlled transformation. You choose three bad cards, usually starter cards, and turn them into upgraded real cards. That is a strong deal because A20 decks are often dragged down by a few cards that no longer belong.
It is most attractive after Act 1 when Strikes are falling off, Defends are not enough, and your deck needs quality more than raw energy. It can also clean up awkward speculative picks.
Astrolabe stays below Pandora's Box because three cards is a smaller swing. It is safer, but less likely to completely rebuild a weak deck. Pick it when you need to improve consistency without gambling the whole deck shape.
Fusion Hammer
Fusion Hammer gives clean energy and asks whether your upgrade plan is already good enough. On A20, that is often a fair trade. Playing one extra card every turn can prevent more damage than a few future upgrades would save.
It gets much better with upgraded core cards, Apotheosis, Armaments, Lesson Learned, or relics that reduce the pressure to smith. It is also stronger after Act 2, when many essential upgrades are already done.
Where this gets tricky is deck dependency. Some cards change tier when upgraded: Wraith Form, Eruption, Defragment, Fission, Limit Break, Catalyst, and many others. If your deck still needs those upgrades to function, Fusion Hammer can lock you into mediocrity.
Slaver's Collar
Slaver's Collar is not full-time energy, but it gives energy in the fights that most often decide A20 runs: elites and bosses. That makes it much better than it looks if your hallway plan is already stable.
It shines when you intend to take elites after Act 1. It also has no draft downside, no potion downside, no curse downside, and no upgrade lock. In Act 3, extra energy against two bosses is a serious payoff.
The weakness is obvious but important. Act 2 hallways can be brutal, and Slaver's Collar does nothing there. If your deck is already taking heavy damage from normal fights, this relic may not get you to the fights it is built to win.
Empty Cage
Empty Cage is a consistency relic, not a power relic. Removing two cards improves every future draw, helps you find your good cards faster, and makes small engines easier to assemble.
It is especially strong for Watcher, where removing Strikes and Defends can push the deck toward stance loops or near-infinite turns. Silent also appreciates cleaner draws, and Ironclad likes trimming when exhaust is not already doing the job.
The downside is opportunity cost. If your deck needs energy, scaling, or immediate damage, two removals may be too quiet. Empty Cage is best when the deck already has good cards and needs fewer bad ones.
Nuclear Battery
Nuclear Battery is excellent Defect frontload. Starting with a Plasma orb means more early energy access, smoother setup turns, and better burst when you evoke it. It asks for almost nothing in return.
The relic is particularly strong when your deck can manipulate orbs deliberately. Dualcast, Recursion, Compile Driver, Multicast, and strong orb cycling can turn the Plasma into a controlled resource instead of a random bonus.
Its limitation is that Plasma does not scale with Focus and it occupies orb space. If your deck wants stable Frost slots immediately, Nuclear Battery can create awkward sequencing. Still, for a no-downside Defect boss relic, it is a strong A tier pick.
Mark of Pain
Mark of Pain is Ironclad energy with a real first-cycle cost. Two Wounds are not curses, but they are dead draws until you exhaust, discard, or exploit them.
That is exactly why the relic can be great. Ironclad has Evolve, Fire Breathing, Second Wind, Burning Pact, Corruption, Feel No Pain, and Fiend Fire. In those decks, the Wounds are either manageable or actively useful.
Without that support, Mark of Pain is dangerous. A20 fights punish bad first shuffles. If drawing Wound instead of Shrug It Off, Shockwave, or a lethal attack gets you hit for 20, the energy did not come free.
Hovering Kite
Hovering Kite is a strong Silent relic when discard is already part of the deck. Acrobatics, Prepared+, Calculated Gamble, Survivor, Dagger Throw, and Tools of the Trade can turn it into reliable energy without cutting off future card rewards.
The sequencing matters. You often need to discard before spending the energy, which means opening hands can be awkward. Hovering Kite is not the same as a standard energy relic that works immediately at turn start.
It belongs in A tier because Silent already wants discard and draw density. If your deck has that shell, Hovering Kite fuels exactly the turns Silent likes to play. If it does not, this is a speculative pick and should be treated more like B tier.
B tier: Good relics that need the right run
Calling Bell
Calling Bell gives three relics for one permanent Curse of the Bell. That is usually a decent exchange, especially when the other boss relic choices have punishing downsides.
The problem is precision. Calling Bell gives value, but not necessarily the value you need. If the deck is short on energy, block, or scaling, three random relics may fail to solve the immediate problem.
It is a comfortable B tier pick because it is rarely catastrophic. It is also not something to overrate. The curse is permanent, and random relics do not replace a coherent deck plan.
Black Star
Black Star is a snowball relic. If you can kill elites, it pays you with extra relics. If you cannot, it does nothing while Act 2 hits you in the face.
That makes pick timing everything. After Act 1, Black Star is strong only if your deck has enough damage, potions, and HP to route through elites. After Act 2, there is less time to cash it in, but Act 3 elites can still make it worthwhile if your deck is ready.
The common mistake is picking Black Star because extra relics sound exciting. A20 does not reward future value unless you survive the next fights. Treat Black Star as a route commitment, not a generic power spike.
Philosopher's Stone
Philosopher's Stone is real energy with a real combat downside. Giving every enemy +1 Strength sounds small until Byrds, Book of Stabbing, Reptomancer, Awakened One, multi-hit enemies, and the Heart start multiplying it.
It is still good because extra energy every turn is good. Decks with strong block engines, Frost, Weak, intangible, fast burst damage, or reliable enemy control can absorb the downside.
Do not take it casually when your defense is based on barely meeting attack numbers. Philosopher's Stone turns “barely enough block” into “not enough block” very quickly.
Runic Dome
Runic Dome is a knowledge check, not a meme pick. Many enemy patterns in Slay the Spire are predictable enough that experienced players can play around them. Some decks also do not care much about intents because they block heavily every turn or kill before the enemy plan matters.
It is strongest with Frost Defect, Barricade Ironclad, intangible Silent, or Watcher decks that can end fights quickly. It also works better when your deck has broad defensive turns rather than narrow answer cards.
The drawback is not just comfort. Some enemies have branching patterns. Gremlin Leader, Nemesis, Time Eater, Awakened One, and the Heart can punish wrong reads. If you have not internalized patterns, Runic Dome is not free energy. It is hidden damage.
Sacred Bark
Sacred Bark is a potion relic, which means its value depends on potion access and potion discipline. Double-strength potions can delete elites, stabilize bad boss turns, and make Act 4 much cleaner.
It gets much better with potion slots, Alchemize, White Beast Statue, Toy Ornithopter, or planned shops. A doubled Ghost in a Jar, Duplication Potion, Focus Potion, Strength Potion, or Ambrosia can be run-saving.
The issue is consistency. Sacred Bark does not improve your deck every turn. If you are empty on potions and poor on gold, it may take too long to matter. It is strong when you can actively feed it.
Wrist Blade
Wrist Blade is narrow, but the payoff is real. Silent decks with Blade Dance, Cloak and Dagger, Infinite Blades, Storm of Steel, or other zero-cost attack lines can gain a lot of damage from it.
This is not a general Silent relic. Poison decks do not care. Defensive discard decks barely care. Even Shiv decks still need block, draw, and scaling for longer fights.
Pick Wrist Blade when the damage shell already exists. Do not take it hoping the next several rewards will turn into a Shiv deck. A20 card rewards are too contested for that kind of wishful drafting.
Inserter
Inserter gives Defect a scaling plan for long fights. Extra orb slots can become powerful with Focus, Frost, Dark, or Plasma support. Against bosses, it can create a board state that normal orb capacity could not hold.
The delay is the price. Every two turns is slow, and Inserter does not help much against frontloaded hallway pressure. It also changes evoke math. Sometimes more slots means it takes longer to cycle the orb you actually want to evoke.
This is a good pick when your Defect deck already survives early turns and wants a higher ceiling. If you are dying before your powers matter, Inserter is too patient.
Velvet Choker
Velvet Choker is clean energy for decks that play a few high-impact cards per turn. Big Ironclad attacks, expensive Defect powers, and slower block-heavy decks can use it well.
The cap is brutal in the wrong deck. Silent discard turns, Shiv turns, Watcher stance chains, zero-cost spam, cantrip-heavy decks, and infinites all hate the six-card limit. Even fair decks can run into trouble once draw improves.
Velvet Choker is B tier because it is not universally bad. It is just very specific. If your deck naturally wins by playing three to five strong cards, take the energy. If your deck is trying to become an engine, stay away.
C tier: Playable, but usually not what you want
Ectoplasm
Ectoplasm gives energy, but the cost is huge because it appears as an Act 1 boss reward. That is exactly when future gold matters most.
Gold buys removals, potions, key cards, and shop relics. It also gives route flexibility. Losing all future gold income can strand you with bad starter cards, no potion refill, and no way to buy a missing scaling piece.
Take Ectoplasm when the deck desperately needs energy and your immediate route has few shop incentives. It can win runs, but it removes too many future correction tools to rank higher.
Sozu
Sozu looks cleaner than many energy relics because it has no direct combat penalty. On A20, that is misleading. Potions are often the difference between taking an elite and skipping it, surviving a bad draw, or covering a deck weakness before it is drafted away.
It is most acceptable when you already hold premium potions and your deck only needs energy to function. Even then, you are locking yourself out of future answers.
Coffee Dripper often beats Sozu because resting is something strong decks can avoid. Potions are something strong decks actively use to push harder routes.
Frozen Core
Frozen Core replaces Defect's starter orb plan with passive Frost generation when you have empty orb slots. That sounds defensive, and sometimes it is. With extra orb slots and Focus, it can produce a slow wall.
The problem is immediacy. Frozen Core does not give energy, damage, card draw, or reliable frontload. It can also do nothing when your orb slots are already full, which is common in active orb decks.
It is playable in slow Frost-focused decks that need long-fight defense. It is weak when the deck needs help surviving the first two turns.
Black Blood
Black Blood improves Ironclad's post-combat healing from good to better. That can support elite routing, aggressive card choices, and fewer rests.
The issue is that Black Blood does not help inside the fight. If Book of Stabbing is killing you, if Champ is outscaling you, or if Act 3 bosses demand better turns, extra healing after combat may not matter.
It is not useless. Sustain has value on A20. But compared to energy, transformation, or deck control, Black Blood is usually too passive for a boss relic slot.
Ring of the Serpent
Ring of the Serpent gives Silent one extra card each turn, but it replaces the explosive opening value of Ring of the Snake. That trade is worse than it first appears.
Silent often needs turn-one setup badly. Drawing more later is good, but A20 fights frequently punish weak first turns before the extra draw catches up. This matters against elites, dangerous hallway fights, and bosses with early pressure.
It is best in longer fights where you have enough energy and defensive stability to use the extra cards. As a default boss relic, it is too slow.
Tiny House
Tiny House is rarely disastrous, which is exactly why it keeps losing to relics that solve energy or scaling. A potion, gold, max HP, a card, and a random upgrade are all nice. They are also scattered.
The best use case is a boss chest where the other two relics actively damage your winning plan. Tiny House gives value without a downside, and sometimes that is enough.
But it usually does not answer the question your deck is asking. It does not reliably fix energy, remove bad cards, add scaling, or create a new engine. On A20, “fine” is often not enough.
D tier: The default avoid
Busted Crown
Busted Crown gives energy and cuts future card rewards down by two cards. That is one of the worst default downsides in Slay the Spire because card rewards are how you find scaling, answers, redundancy, and late-game shape.
It is especially bad after Act 1. Most decks are not complete at that point. You still need better block, better damage, AoE, scaling, draw, or specific boss answers. Seeing one card per reward turns every future draft into a low-agency gamble.
There are winning Busted Crown runs. Take it when your deck is already functionally complete, your relics provide enough power, and the remaining route is mostly about spending energy efficiently. Otherwise, it is the energy relic that most often makes a promising run slowly run out of options.
Quick boss chest rules for A20
If the boss chest is close, use these checks before clicking.
- If your deck needs to play more cards immediately: Coffee Dripper, Cursed Key, Fusion Hammer, Slaver's Collar, and Mark of Pain are the main energy considerations.
- If your deck has too many starter cards: Pandora's Box, Astrolabe, and Empty Cage are often better than a risky energy relic.
- If your deck has expensive high-impact cards: Snecko Eye jumps in value, but only if you can survive the first confused turns.
- If your deck wins by precise sequencing: Runic Pyramid is often premium, while Velvet Choker and Snecko Eye may be dangerous.
- If your deck still needs future pieces: Be very suspicious of Busted Crown, Ectoplasm, and Sozu.
- If the relic does not help before the next elite: make sure your current potions and HP can cover that gap.
The strongest A20 boss relic picks are not always the flashiest. They are the picks that preserve your outs while solving the next real problem. Energy is excellent, but only when the downside does not quietly take away the deck you still need to build.