Monster Train Clan Combinations: Choose an Ally That Fixes Your Deck
Three practical starting plans for original Monster Train: Hellhorned with Awoken, Awoken with Hellhorned, and Stygian Guard with Awoken. Learn what to draft and when to change direction.
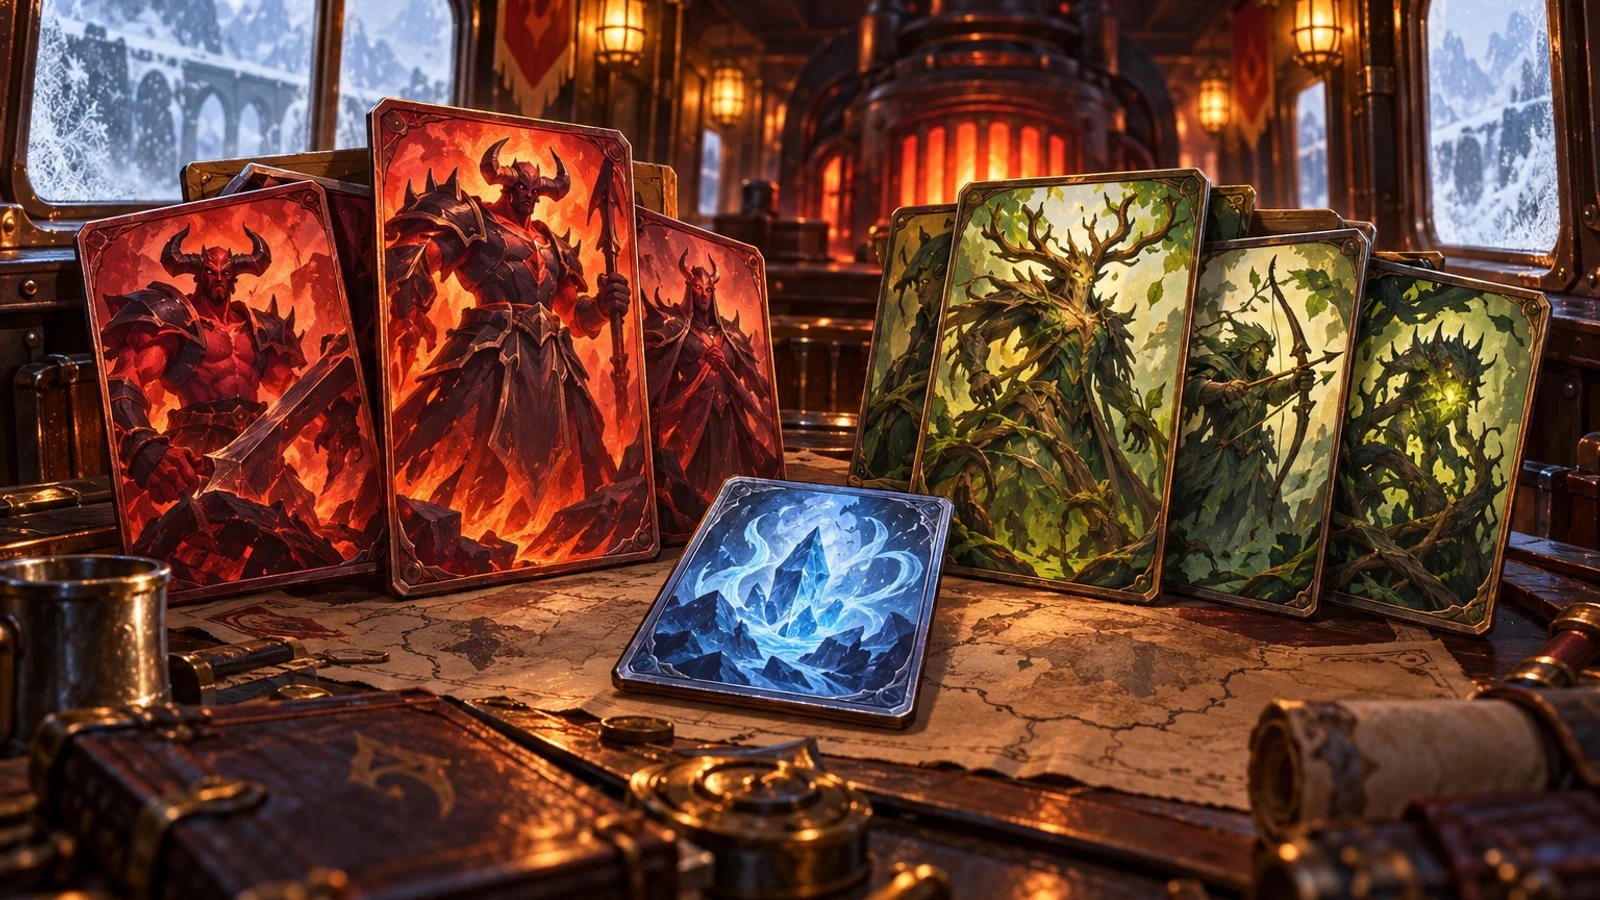
For a first pairing to learn, try Hellhorned with Awoken: build a damage plan, then use your ally to keep its important units alive. For a spell-focused run, try Stygian Guard with Awoken. These are starting recommendations, not a claim that either pairing has the highest win rate.
The useful question is what the second clan contributes to the first. Two card pools full of exciting options can still leave you without a floor that survives, a way to clear waves, or enough damage for the boss.
This guide covers the original Monster Train, using original clans rather than Wurmkin or Monster Train 2's systems. Your champion and starter selection matter: a recommendation for one direction is not automatically the same recommendation with the clans reversed. If you want individual clan rankings first, use our Monster Train clan tier list.
Start with a division of labor
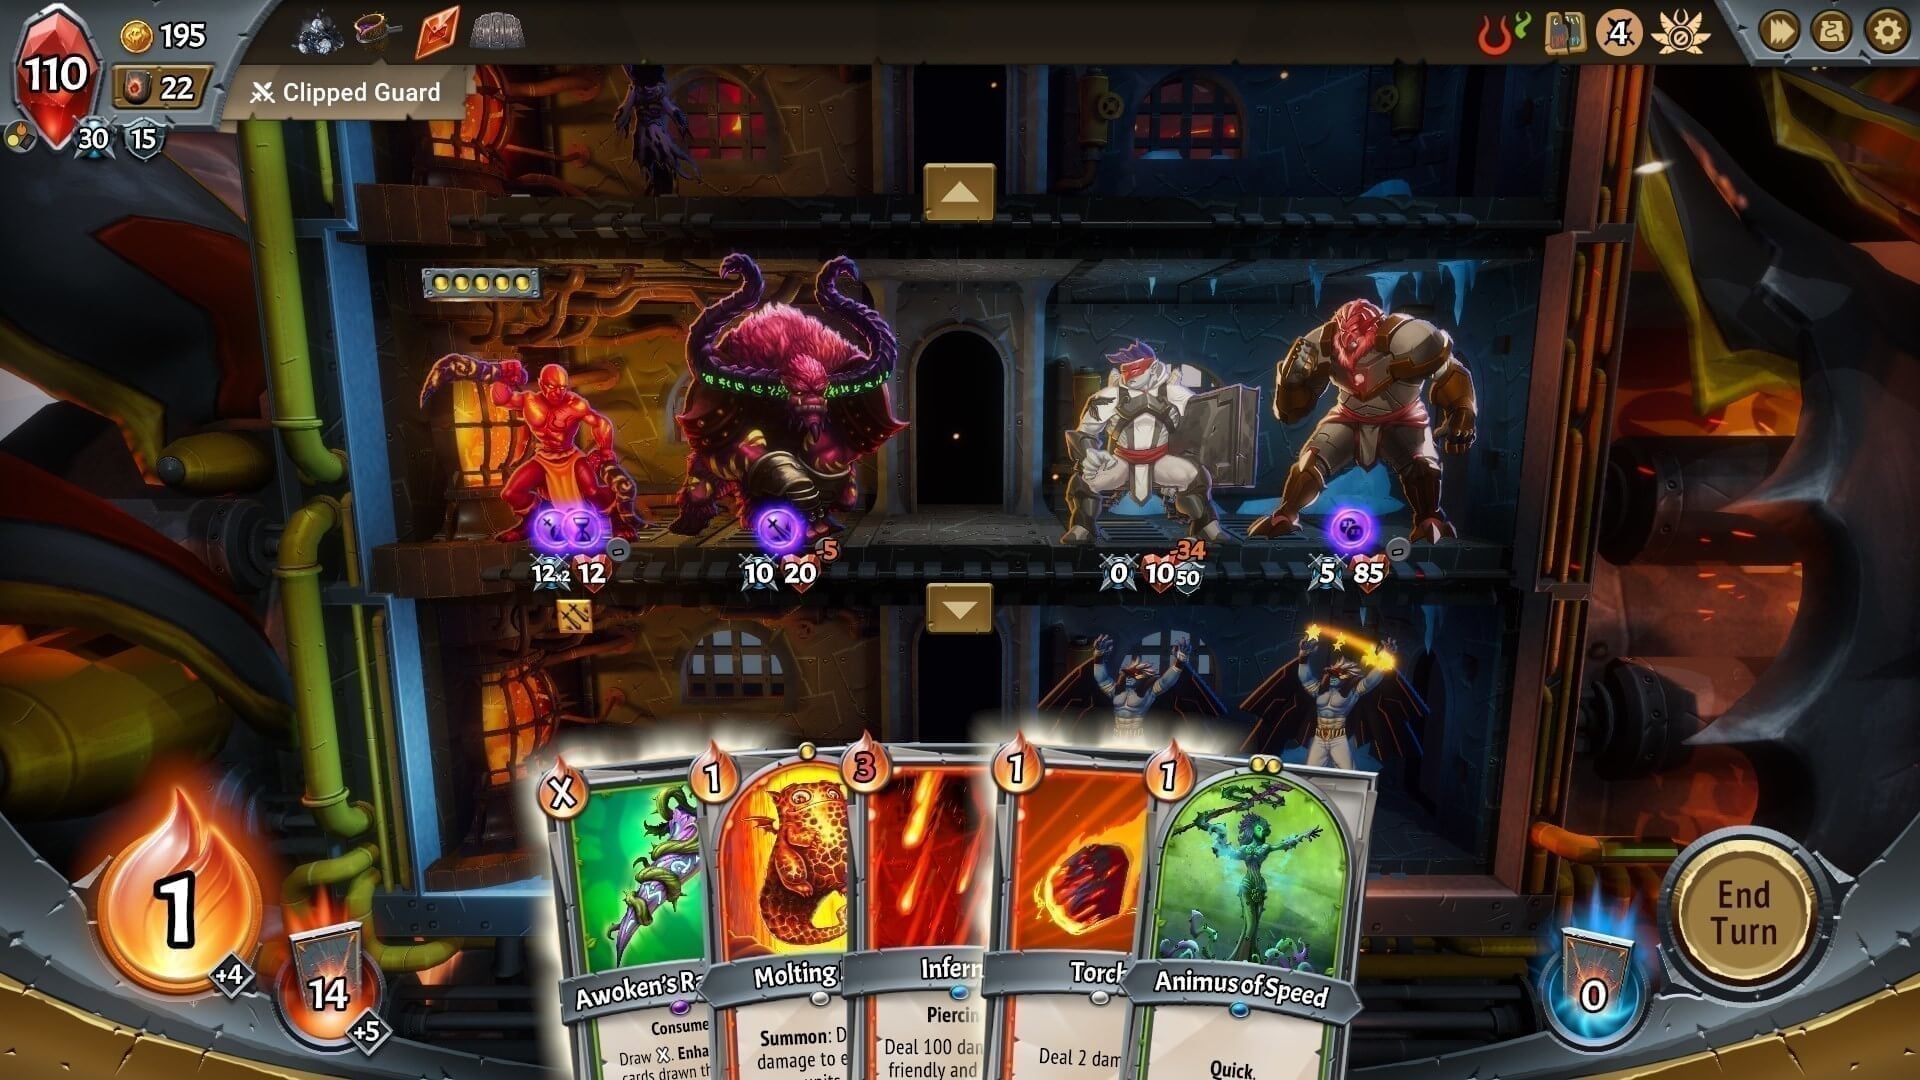
Read the battlefield above as a positioning problem: your units occupy the left side of each floor, enemies approach from the right, and the hand below supplies the next intervention. A clan pairing has to work inside that space, with the cards you actually drew.
The publisher's game description explains that your primary and supporting clan give you access to both card pools. That expands the available answers; it does not guarantee that a particular card will appear.
Before drafting, write a simple plan:
“This part deals damage; this part keeps it working.”
Then add a second question: how does the floor deal with more than one enemy? A large attack number can still leave enemies alive behind the first target. Use the combat preview to check which units will survive, rather than assuming the floor is solved because one unit looks impressive.
- Hellhorned primary, Awoken ally: protect a damage dealer instead of collecting more damage cards.
- Awoken primary, Hellhorned ally: turn a surviving floor into one that can actually finish fights.
- Stygian Guard primary, Awoken ally: keep the spell engine alive while maintaining useful spell access.
Hellhorned with Awoken: give the damage dealer a front line
This is the clearest starting plan if you enjoy direct combat. The official Hellhorned overview describes Horned Warrior as powerful but vulnerable without protection. The Awoken overview describes Awoken Hollow as a defensive unit with high health. Those roles suggest a useful pairing without requiring a rare, exact card combination.
If the rewards offer them and your floor has room, Awoken Hollow in front of Horned Warrior is a concrete example: the defensive unit takes the front position while the attacker works behind it. This is an example formation to evaluate, not a guaranteed pair of rewards or a complete late-game build.
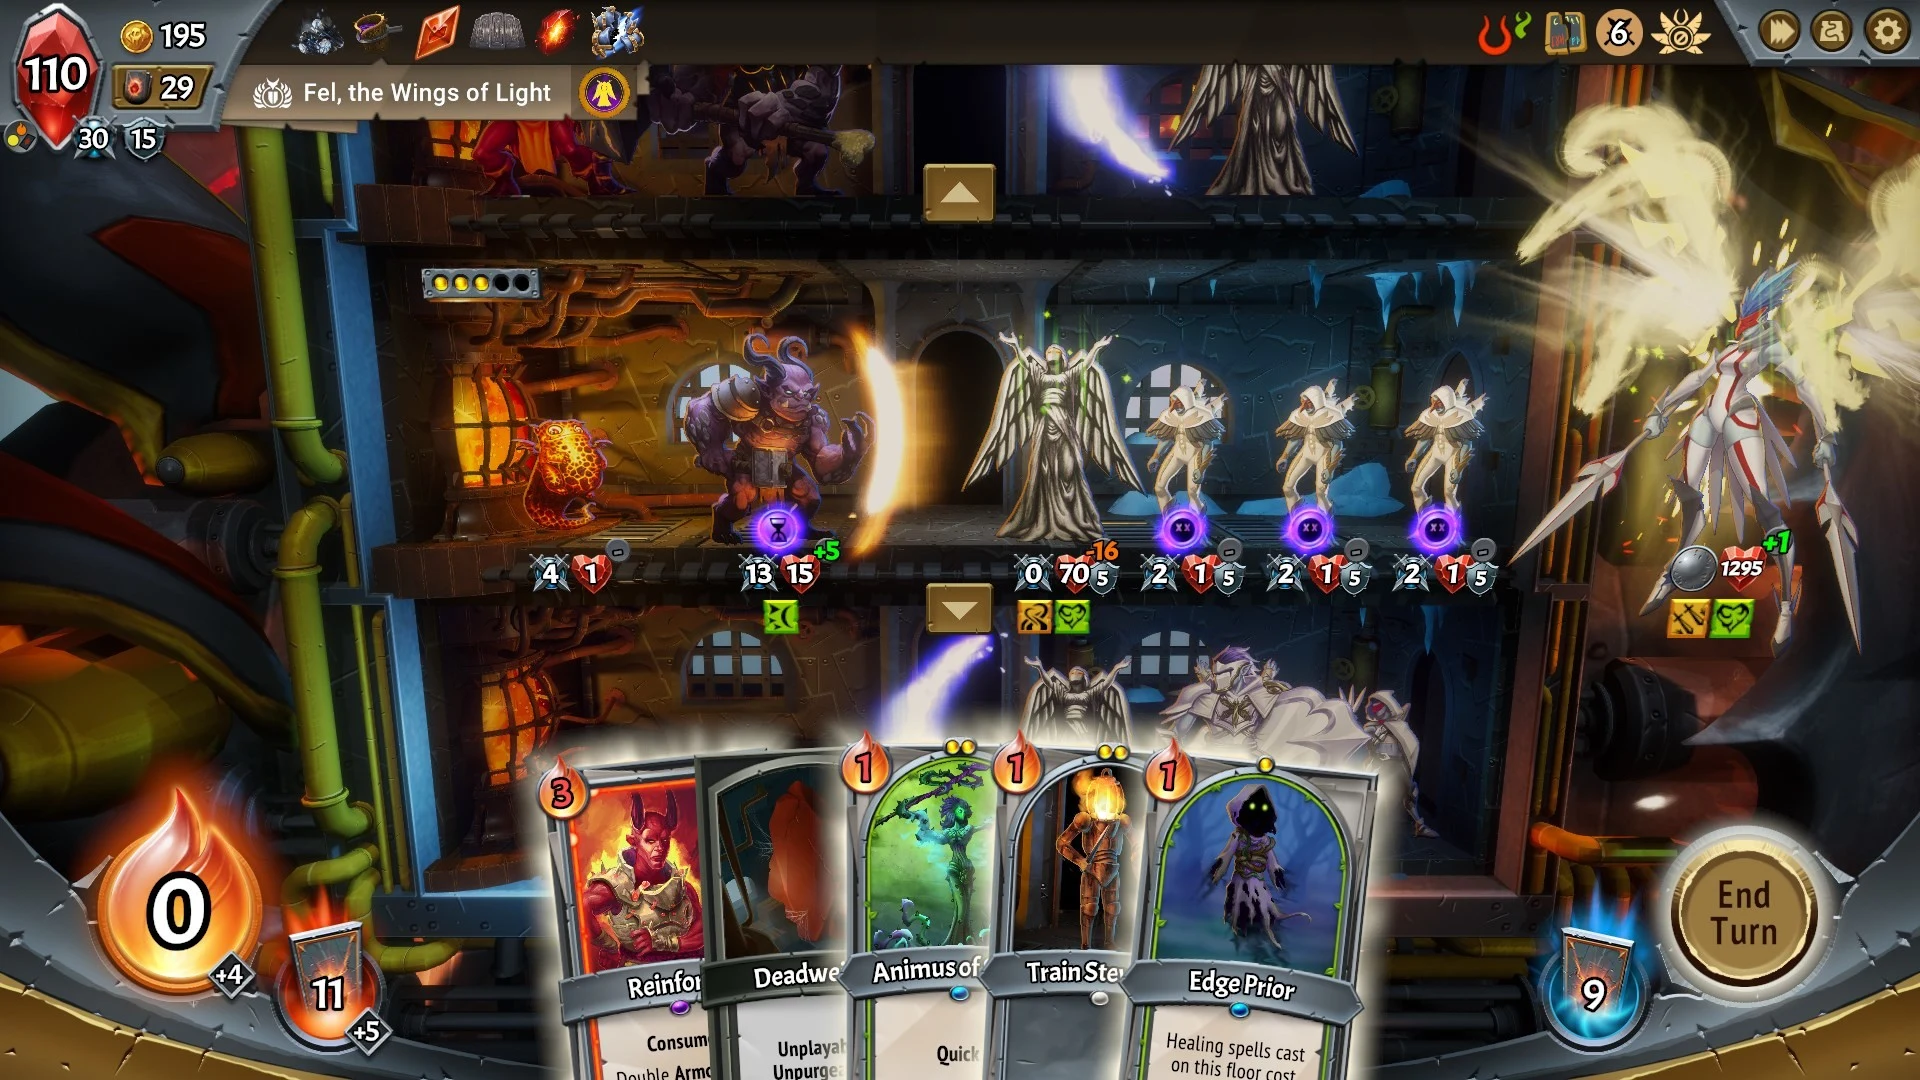
Publisher gameplay screenshot: Shiny Shoe / Good Shepherd Entertainment, from the official Monster Train Steam gallery. This is an illustration of floor and hand decisions, not the exact Hollow/Warrior formation above.
Notice how the screenshot separates the hand from the floor already in combat. Reinforce is visible in the hand, alongside Awoken cards; choosing the clans gives access to those different tools, but the useful play still depends on which unit needs help. Do not read a good card in the hand as proof that the front unit survives. Inspect its target and the combat preview before committing.
Think in roles first. A damage dealer belongs where it can attack without receiving all the incoming hits. A defensive unit belongs where its health and support matter. Healing is valuable when it preserves something you need for the next combat, not simply because you can afford to cast it.
An illustrative draft decision: you already have an upgraded attacker, but the unit in front of it dies early. Offered another attack-boosting card and a relevant defensive answer, ask which one changes the next fight. More damage may be attractive; replacing the missing protection may be what lets your existing damage happen at all.
What to prioritize: a workable front line, damage that improves as the run progresses, and a deck that reaches the needed support. Check the actual card text and champion upgrade you selected before assuming a familiar clan label guarantees the effect you want.
When to change direction: if your rewards do not produce the expected attacker, stop drafting support for an imaginary carry. Let the strongest available unit or champion path decide what needs protecting.
Common failure: solving survival once and then drafting only offense. Inspect the floor again when enemies change. A tank that covered early waves does not promise that the same formation will survive every later fight.
Awoken with Hellhorned: survival needs a payoff
Reversing the clans changes the champion around which the opening is built. It is a different starting decision, even though many possible support cards overlap.
This direction is useful for learning a mistake that defensive decks can hide: keeping units alive without developing a way to end the fight. Your Awoken-led floor may feel comfortable until the preview shows that enemies are still getting through or the boss outlasts it.
Hellhorned can contribute offense or armor, but you should draft for the missing role. The developer's Wild Mutations balance notes document the clans' distinct attack, armor, and regeneration tools. They are evidence of the mechanics, not a reason to copy historical numerical values into a current build.
An illustrative draft decision: the front unit is surviving, yet the important enemy remains alive after combat. A second defensive package may make the deck feel safer without changing that outcome. Look for damage that works with the units and upgrades already present, rather than building another layer around the same unresolved weakness.
What to prioritize: enough offense to reward the time your defensive plan buys. Read the preview after changing formation or adding an upgrade; do not judge the purchase by the size of its isolated bonus.
When to change direction: an Awoken unit can become the damage plan while Hellhorned supplies support. The ally is a card pool, not a rule that every red card must attack and every green card must defend.
Stygian Guard with Awoken: protect the spell engine
Choose this direction when you want spell decisions to do more of the work. Stygian's official clan page identifies its magic focus, while the developer's Wild Mutations notes document units such as Siren of the Sea gaining stats through Incant.
The practical idea is to give a spell-oriented floor enough protection and useful casts to develop. Awoken support can keep important units in play. But adding a spell is not automatically improving a spell deck: its cost, target, and timing still have to fit.
An illustrative draft decision: you have a promising scaling unit but spend each opening trying to stop it dying. Another payoff may increase the eventual ceiling while leaving the opening unchanged. A suitable defensive answer can be the better pick because it gives the current engine time to work.
There is a second trap: keeping the engine alive while failing to kill waves. Damage aimed at the boss, damage aimed at small enemies, and protection are different jobs. Inspect what actually leaks through the floor before adding a card for the wrong problem.
What to prioritize: support you can deploy on time, useful spells you can repeatedly reach, and a damage plan that handles the encounter in front of you.
When to change direction: do not force Incant because you selected Stygian. If the available cards support a different coherent plan, evaluate that plan on its own terms. Clan selection creates options, not a guaranteed reward sequence.
Use the first fights to revise the pairing
After a fight, diagnose the failure before changing the deck:
- The damage dealer died: inspect positioning and protection.
- The front line survived but enemies leaked: inspect target coverage and damage.
- The needed support arrived too late: inspect cost, draw access, and unnecessary cards.
- The plan worked only after several setup turns: ask what carries the opening.
These diagnoses lead to different rewards and upgrades. “Take a stronger card” is not specific enough.
Our deck-thinning guide explains why removing cards can improve access without replacing missing power. Apply that distinction here: a tidy deck with no boss plan is still unfinished, and a powerful card buried behind unrelated picks may arrive too late.
Start with Hellhorned/Awoken if you want the most readable lesson in offense and protection. Try Stygian/Awoken when you want to learn spell-based development. Then let the actual rewards and combat previews overrule the recipe. The point of choosing an ally is to give the run useful answers, not to spend the run waiting for one perfect combo.